HALLO | RANTS | Stash | Museum | Goodies FTP | About
 |
RoozerXC's stuff |
 |
|
RoozerXC's stuff |
|
Written May 12th, 2025 by RoozyDB/RoozerXC
Updated May 13th, 2025 by RoozyDB/RoozerXC
Depending on the kind of hardware you have, you may need drivers for most of them. You can find them by searching your computer model on Google and visiting the manufacturer's site (or The Retro Web).
For this guide we will be using the following specs:
Keep in mind that you should enable IDE compatible mode in the BIOS before installing Windows 2000. The reason for this is because Windows 2000 does not natively support the Serial ATA interface; later on we will fix this by supplying our own AHCI/SATA drivers.
The following patches will be used:
DRIVER.CAB file)NTDETECT.COM file which resolves issues with some buggy BIOSesNTLDR (for slightly faster boot times)usb.inf file which includes usbd.sys in [EHCI.CopyFiles.NT]If you want to apply the patches to your own ISO you may download a pack of them here. (COMING SOON)
We will be using a CD to install Windows 2000 as it is the most compatible, error-free method that works on any system. I recommend Verbatim DataLifePlus CD-Rs as they are the most reliable.
It is highly recommended that you fully update your system with Legacy Update. You can get it here.
The first thing that you will need is a bootable retail ISO of Windows 2000 Professional Service Pack 4. This guide uses the English Retail version (ZRMPFP_EN) which you can download here.
Once you are done downloading the Windows 2000 ISO you will need to edit its contents with PowerISO.
First off, delete the following files and folders to shave 65 MB off the ISO:

The contents should now look like this:
Do not delete the CDROM* files in root as they are extremely necessary for the Text mode portion of setup to begin properly.
Then head to the I386 folder and drag the files from the patches.zip archive.
When it asks you to overwrite stuff just click "Yes to All"
Once you overwrite the files in the ISO image save it as a new one. I prefer simply naming it win2k.iso but you can name it anything you want.
To burn this ISO onto a CD we will be using a tool called ImgBurn. You can download it here.
If you have 7-Zip installed you can just open the EXE file as an archive and just get the ImgBurn.exe program:
Once we open the ImgBurn executable we are greeted with this menu. Select "Write image file to disc"


We will now insert our blank CD. Then once this menu changes you will need to set the write speed to 1x or the lowest supported (which is 16x).

Off to burning the disc we go.
Once the disc burning session is done, you can safely click OK and eject the disc from the drive. Now, insert it into the machine that we will be installing Windows 2000 on.
WARNING: The following procedures will wipe your drive. Be extremely careful when doing this, and always backup your data.
There are plenty of different methods to format a hard disk. DBAN and Partition Wizard are good examples. But for this guide we will be using the Windows 10 install media.
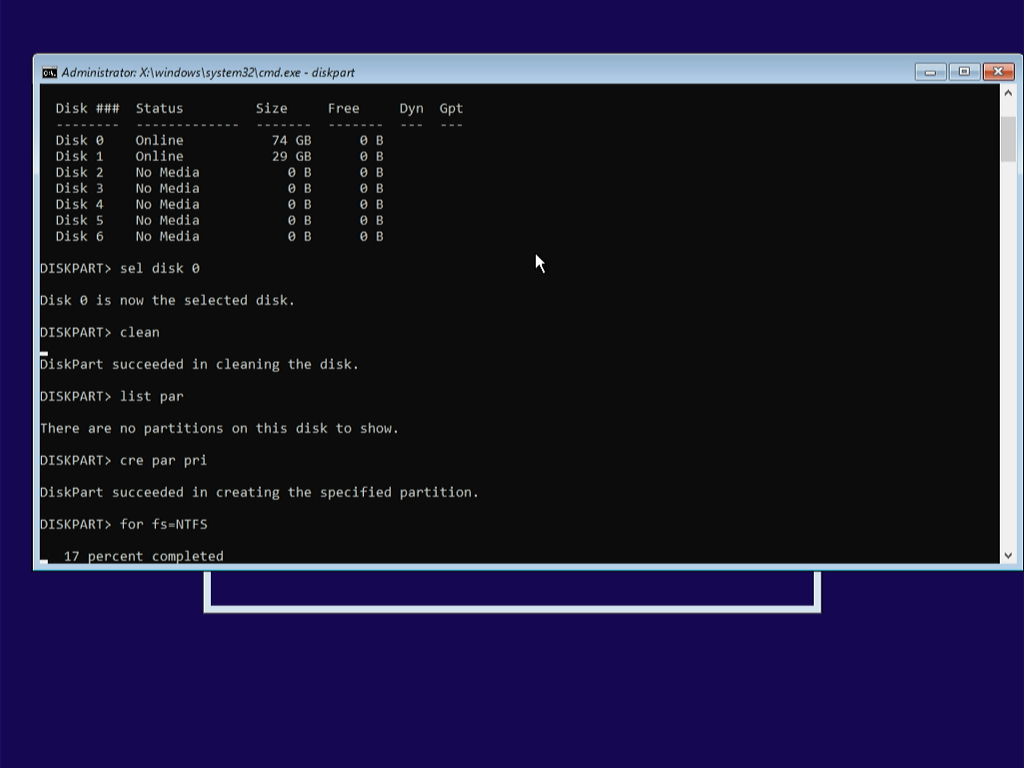
We will need to format the whole drive to remove any remaining traces of data on the disk. On the Windows 10 setup menu, hold Shift+F10 to invoke the command prompt. We will be using the following commands:
If you are using an SSD, it is better to write for fs=NTFS quick in place of for fs=NTFS so as to not stress the NAND memory cells.
diskpart
list disk
sel disk 0
clean
cre par pri
for fs=NTFS
ass letter C
exit
wpeutil reboot
Depending on the disk's capacity, RPM and AHCI/IDE interface, it may take a long time. While this is happening, feel free to listen to music or order takeout if you want ;)
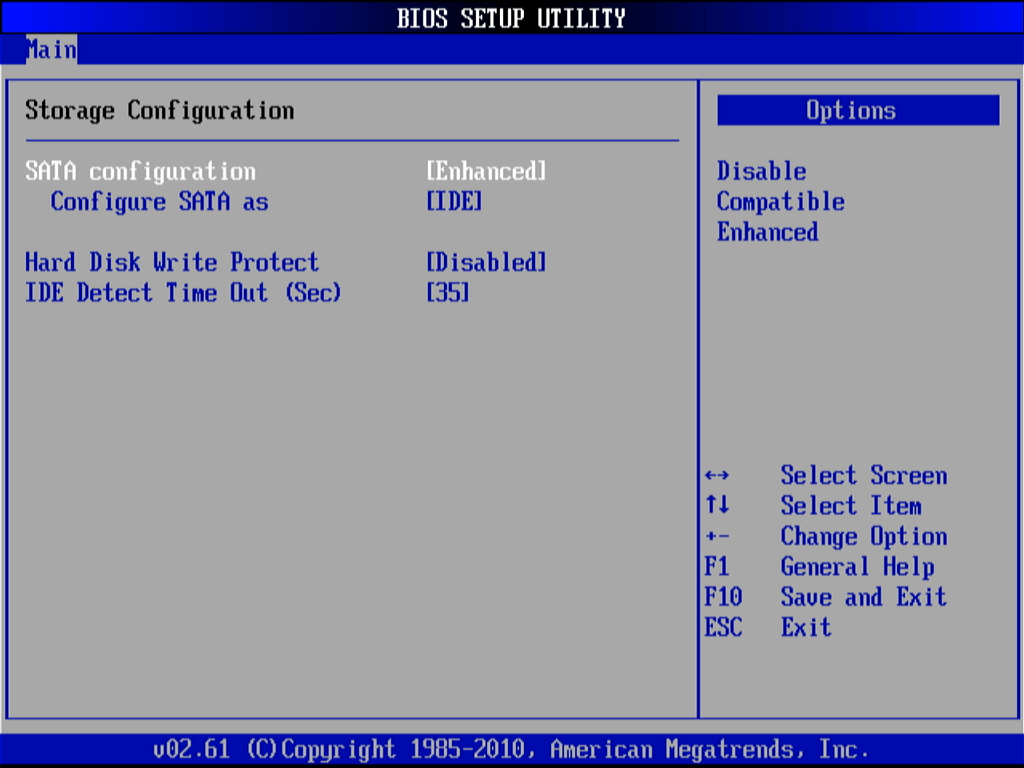
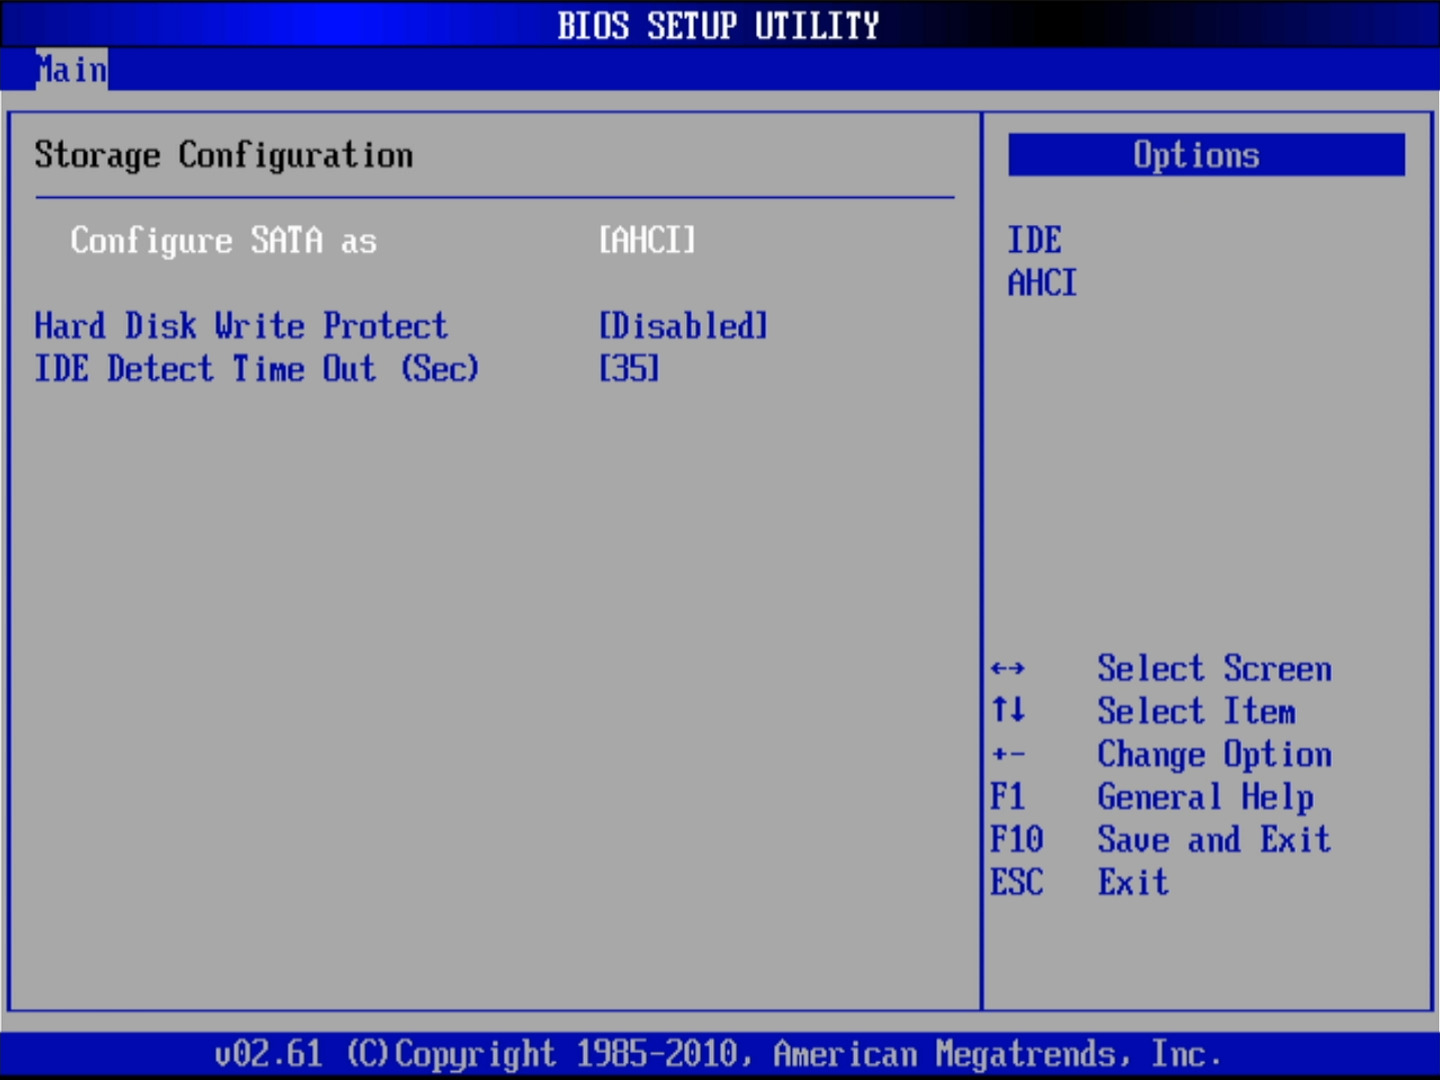
After we restart using wpeutil reboot, we will see our motherboard's boot screen. Depending on your BIOS, press F12, DEL or ESC to access the BIOS setup menu.
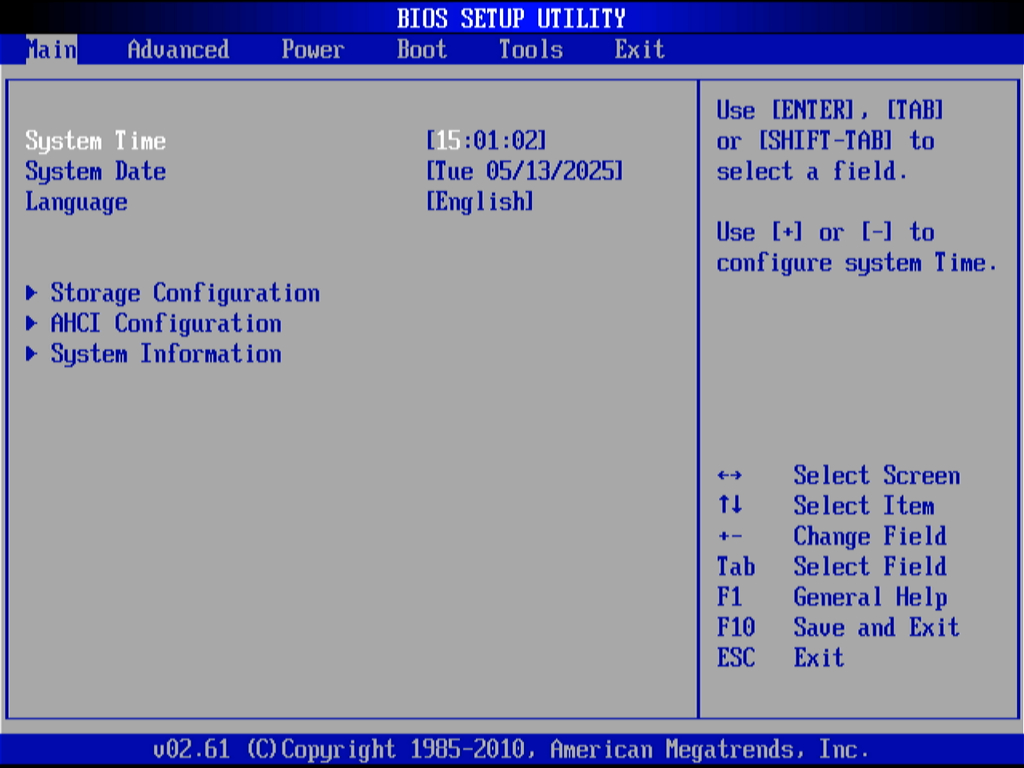
Scroll down to Storage Configuration and hit Enter. Then change the SATA configuration to Enhanced IDE, and exit and save your changes.
Once the machine reboots, power off your system and (this is HIGHLY important) connect a PS/2 keyboard into the machine. Then turn it back on and press F8 to access the boot options menu.

Select the CDROM device and press Enter.
Once it loads the Setup screen, just press Enter, accept the licensing agreement by pressing F8, and select your newly created C: partition.
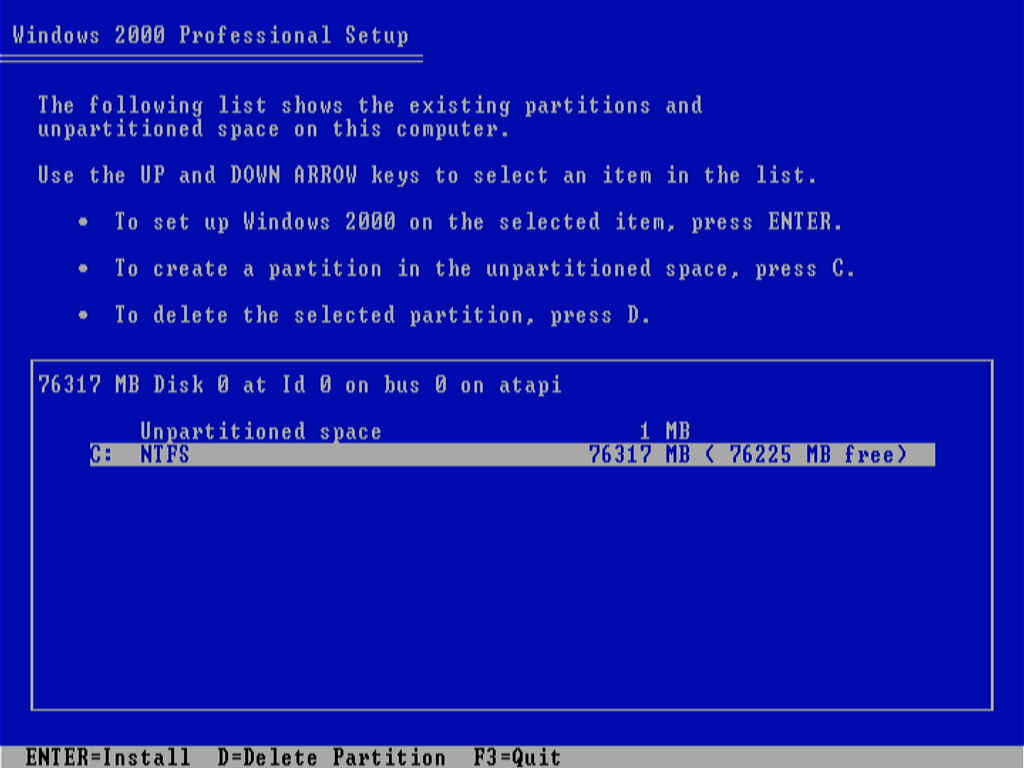
Then it will ask you if you want to format the current partition as NTFS or leave it intact. I recommend just leaving the current partition intact.

And now we wait.
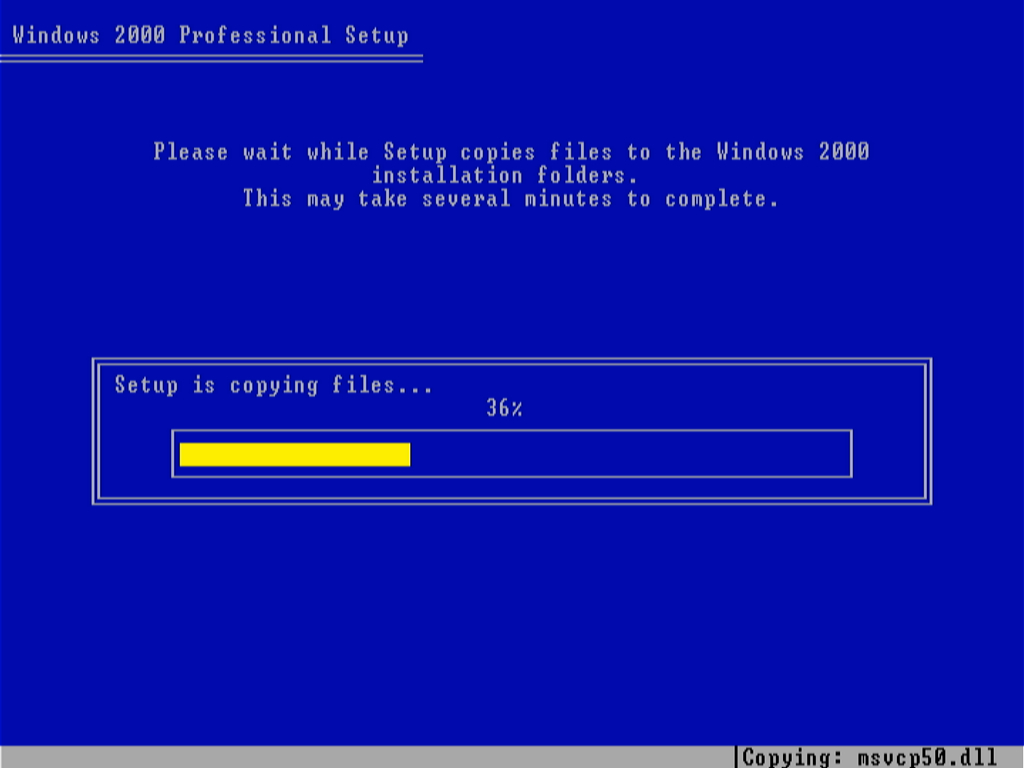
Once this is finished we will see the Windows 2000 boot screen:
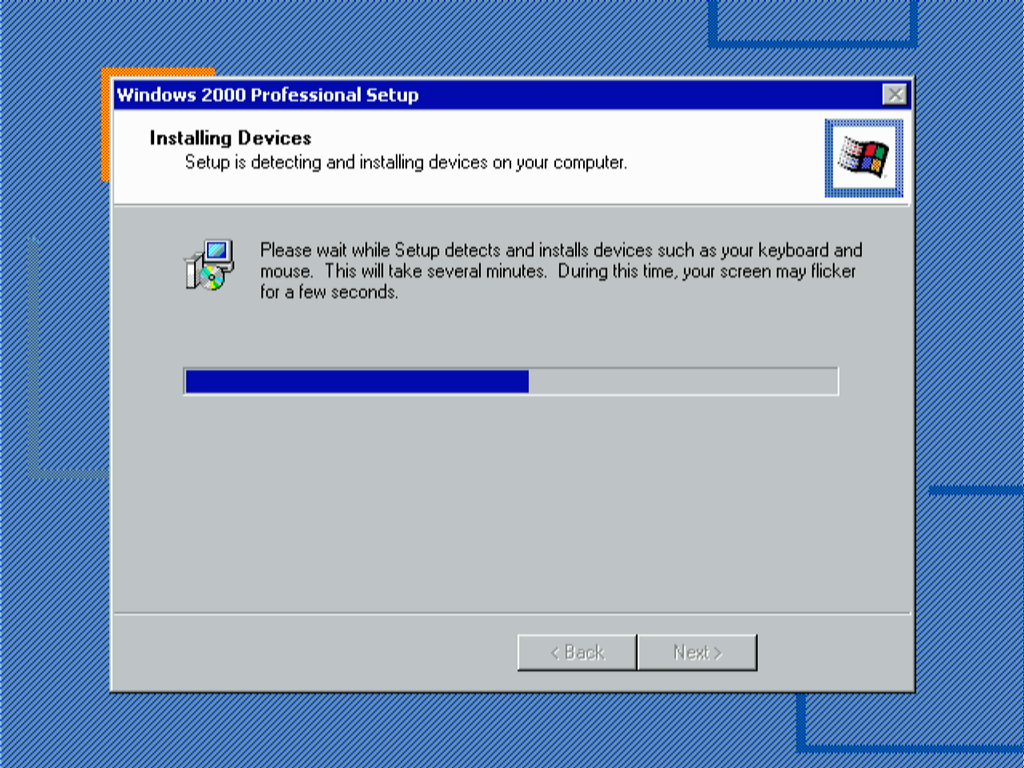
Since we can't control the mouse as it is a USB device that never gets initialized, we'll just let it detect and install some devices for our hardware:
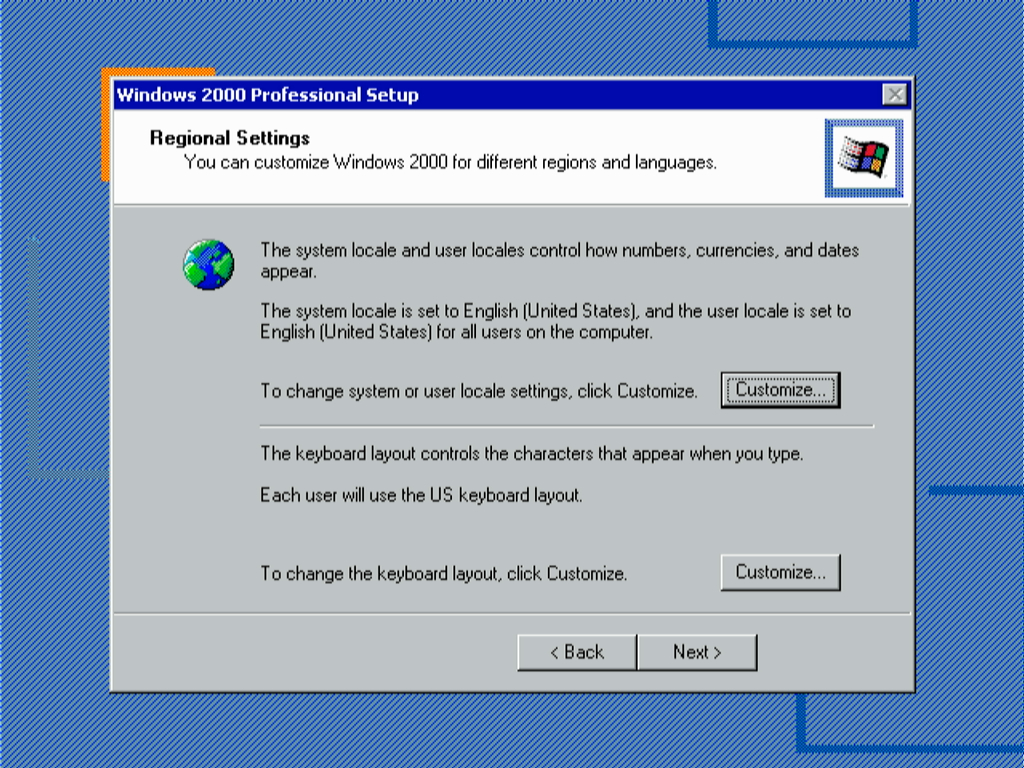
You are free to customize any region specific settings. I will tweak my own, but each configuration is different.
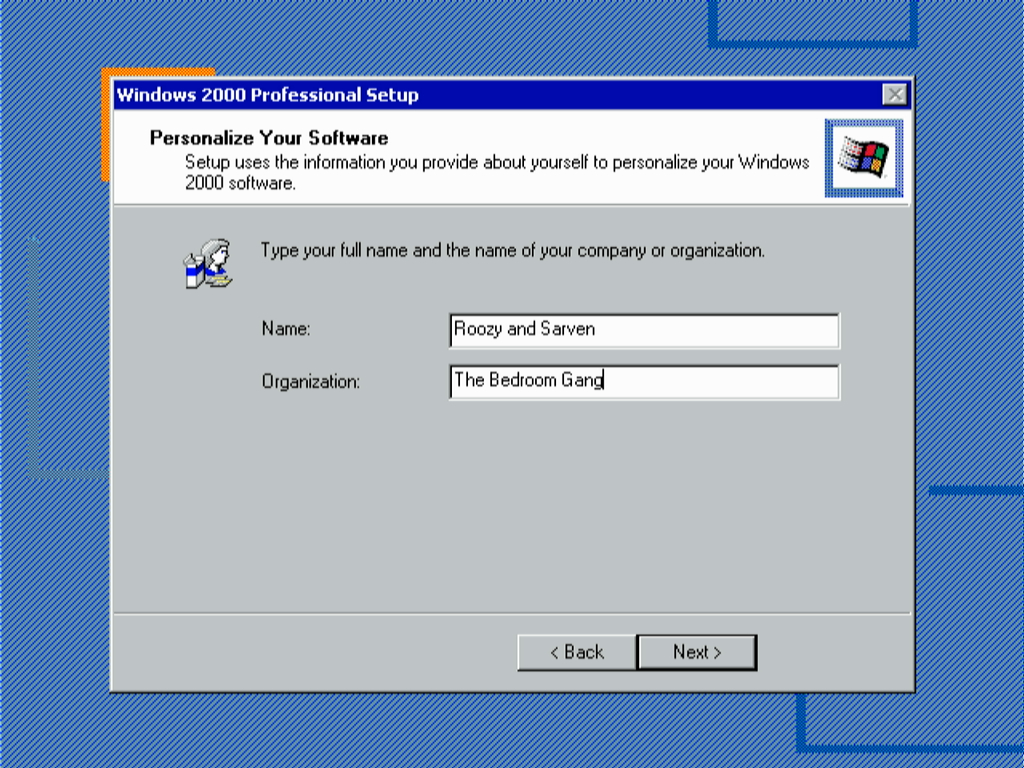
Click Next and enter your name and organization:
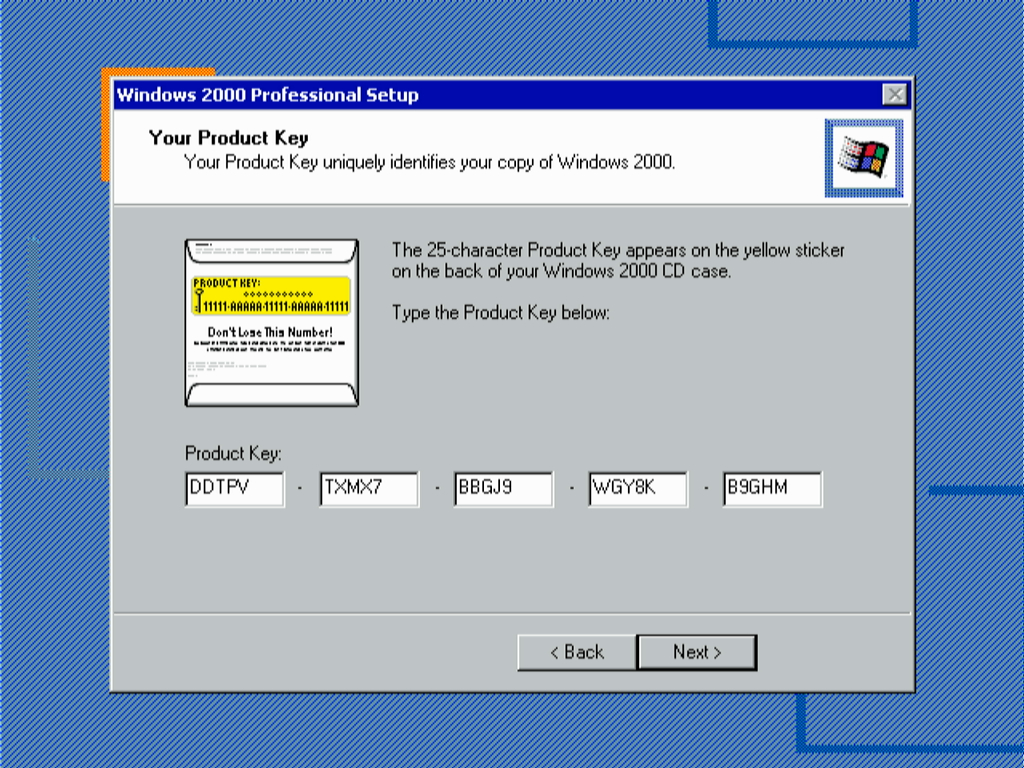
Now it is time to fill out our product key: DDTPV-TXMX7-BBGJ9-WGY8K-B9GHM
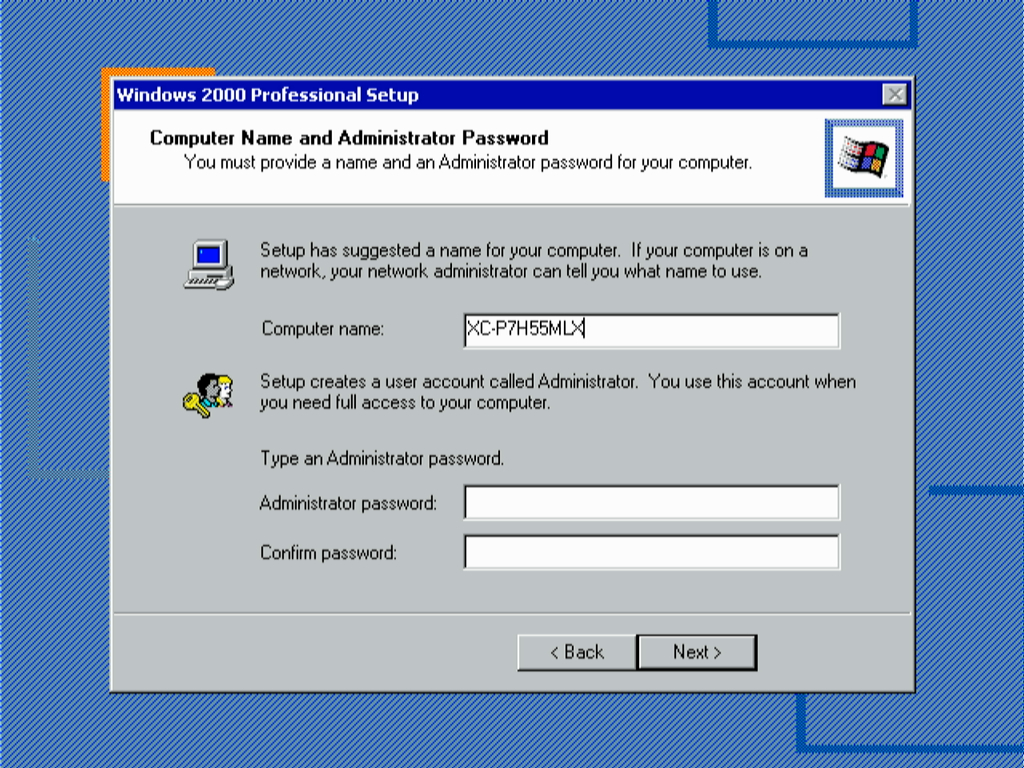
Filling our computer name:
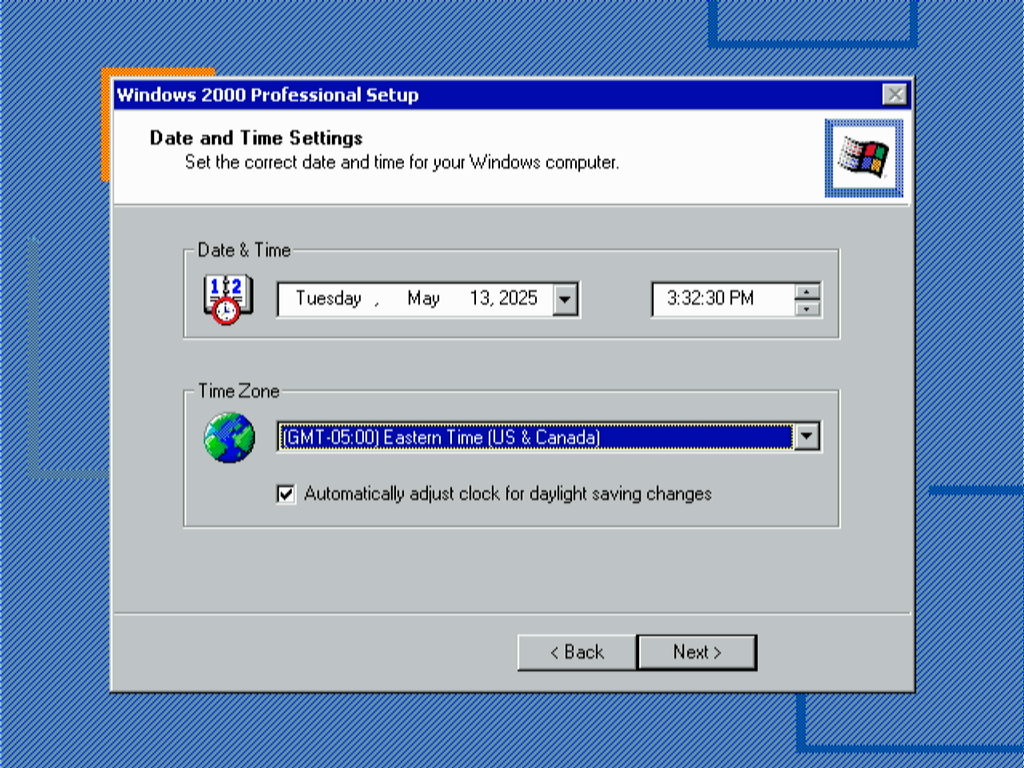
Time zone is dependent on where you live. My timezone is UTC-4 EDT/GMT-05:00 since I live in Florida, but it depends on which state or country you are currently residing in.
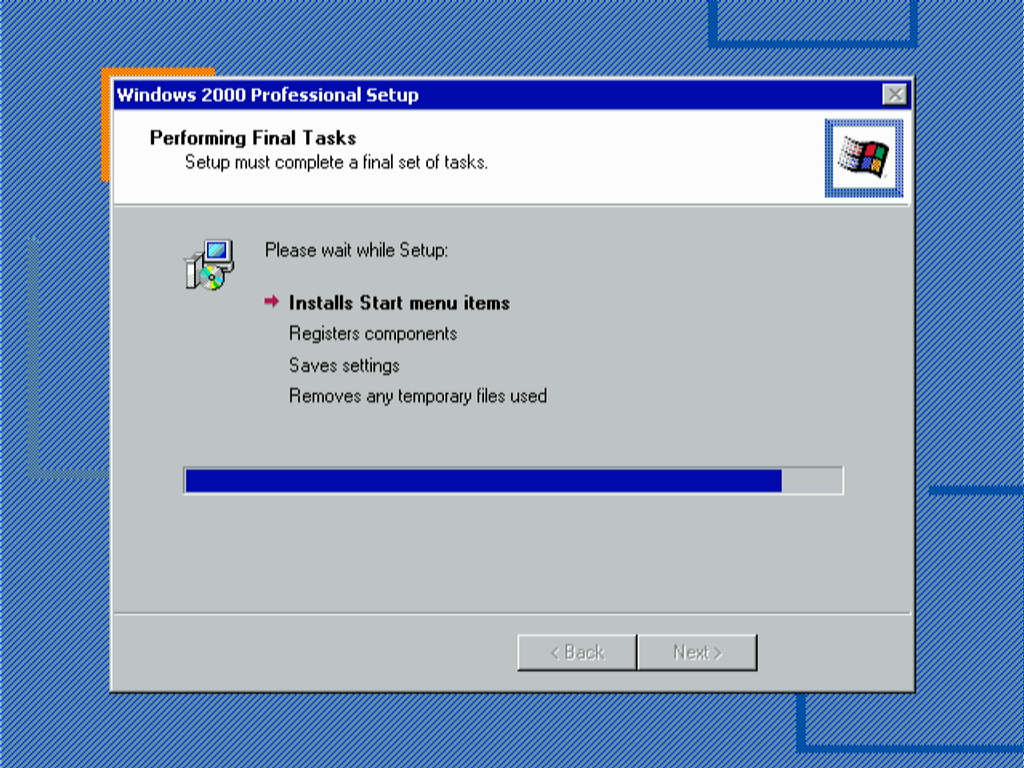
Now we will just let it install a bunch of components, and then we will reboot once it's done.
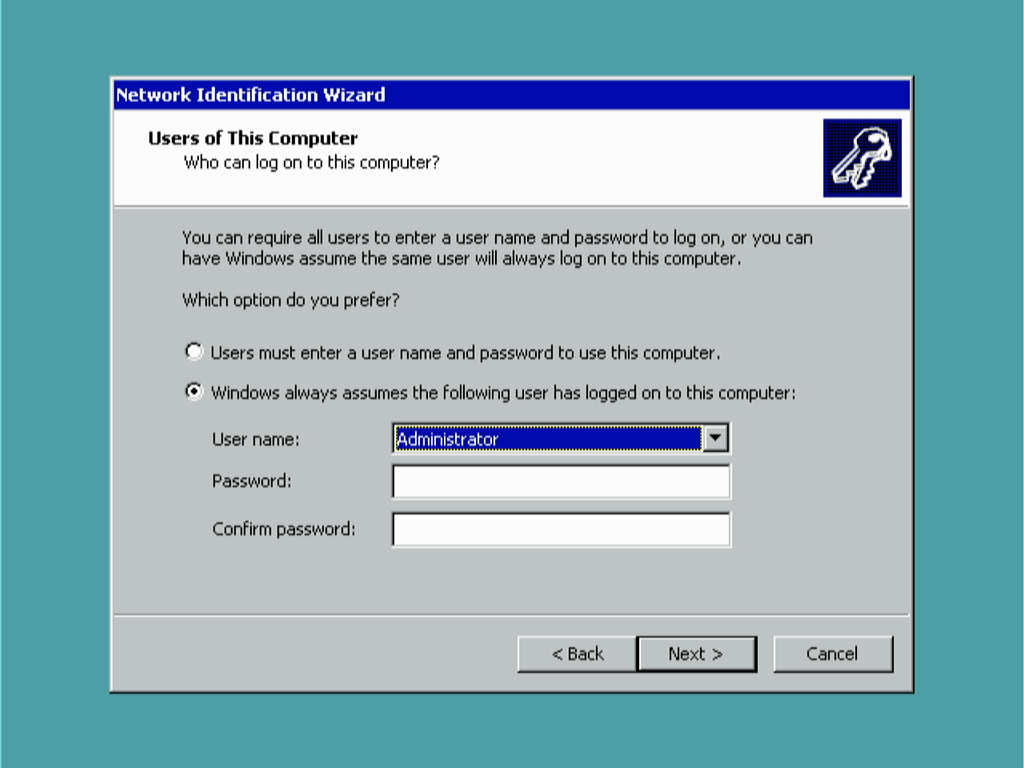
For the Network Identification Wizard, select Administrator as the user:
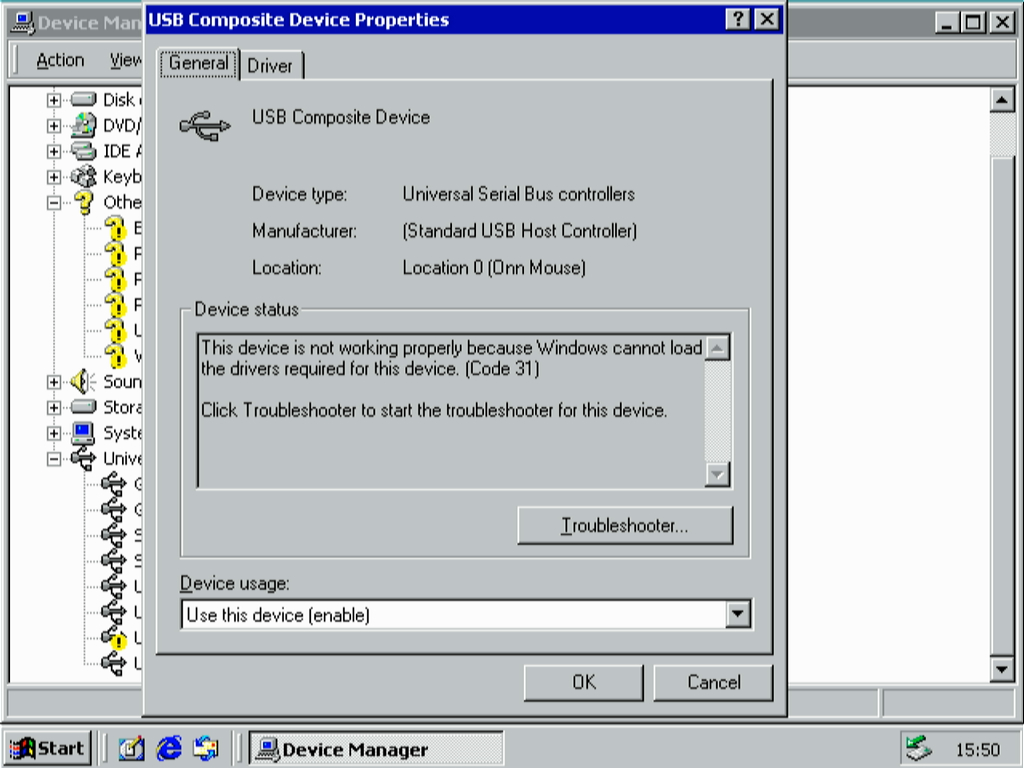
After this we will reconnect our USB mouse, and install using the keys on the PS/2 keyboard; however, we have a problem. The mouse still isn't initialized:
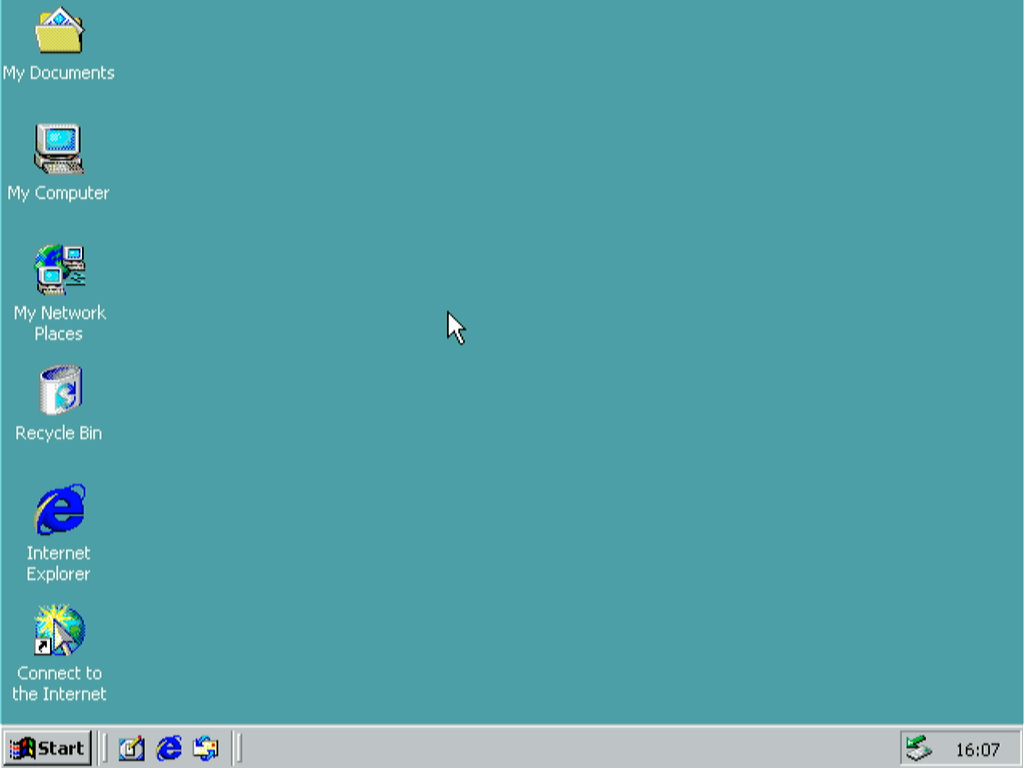
After performing a tortorous lobotomy on the USB mouse drivers by re-saving the %WINDIR%\INF\usb.inf file using Notepad and manually pointing the drivers to it, we finally get a cursor on the screen:
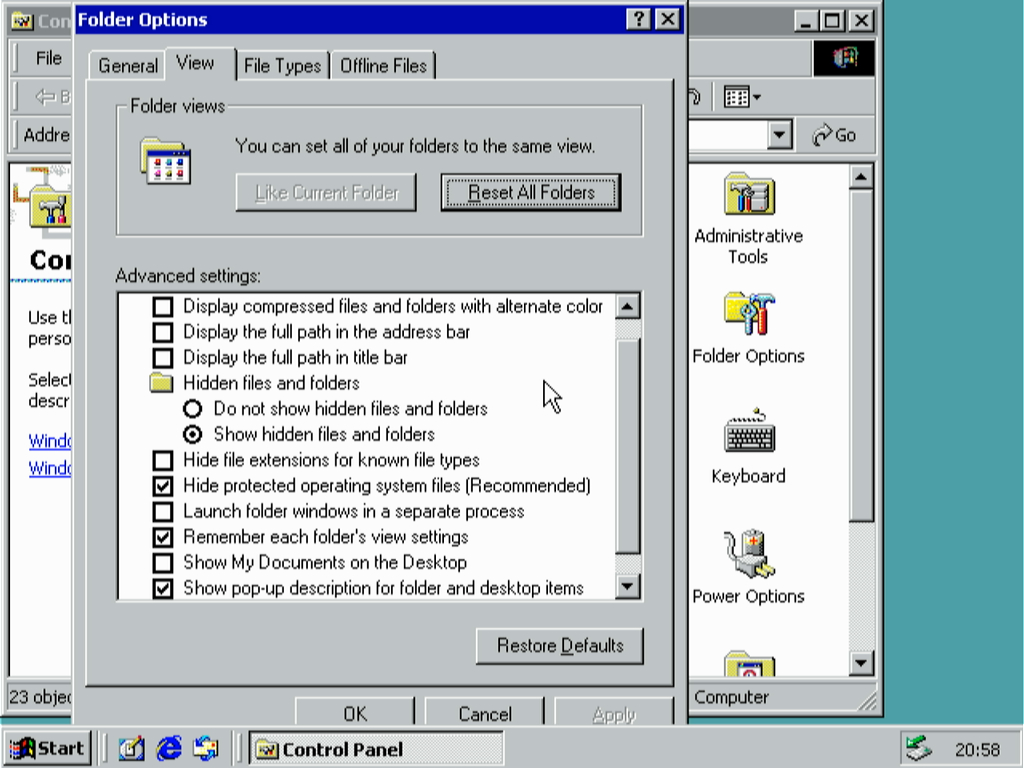
Now that our USB problem is solved and that we can use keyboards and mice, we'll perform some small tweaks. First go to the Control Panel and navigate to Folder Options. Then go to the "View" section and configure the following settings:
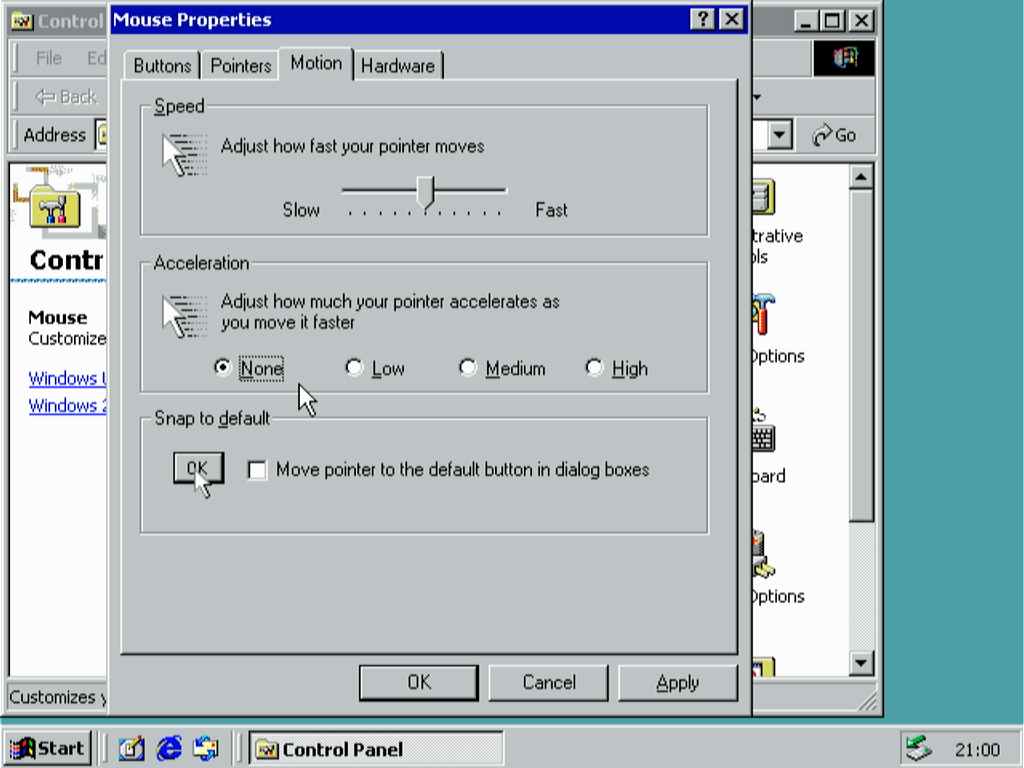
Also consider turning off mouse acceleration in Mouse Options too:
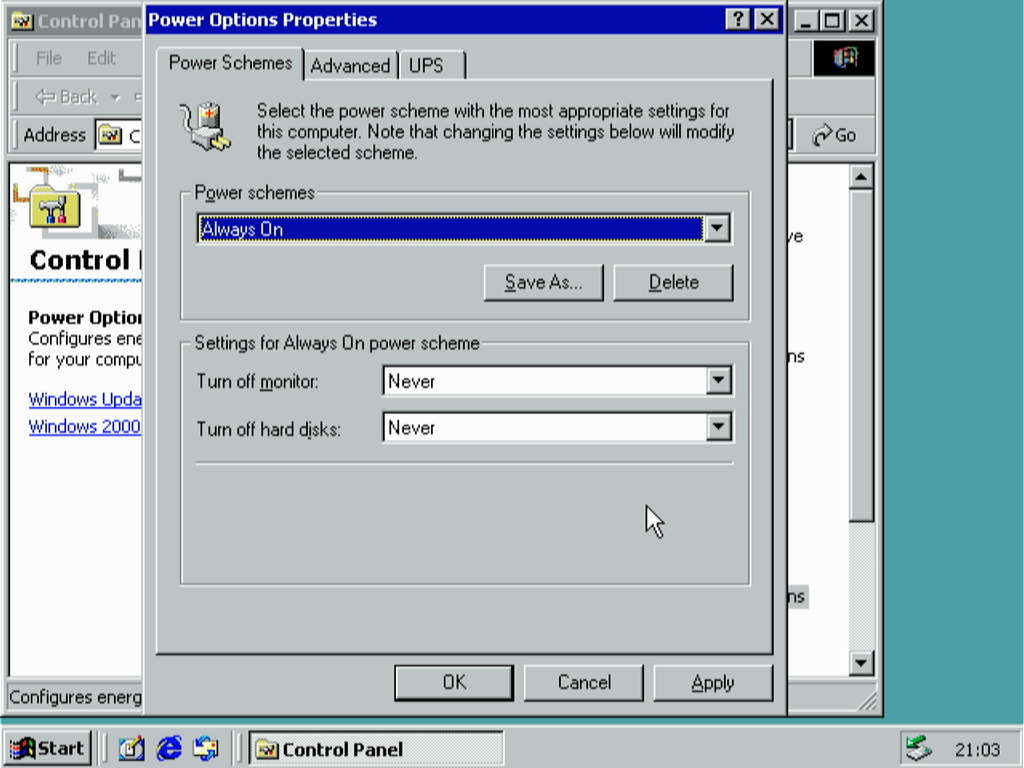
Sometimes Windows 2000 can be a bit finicky with ACPI. In this case I just disable timers to turn off monitors and hard disks:
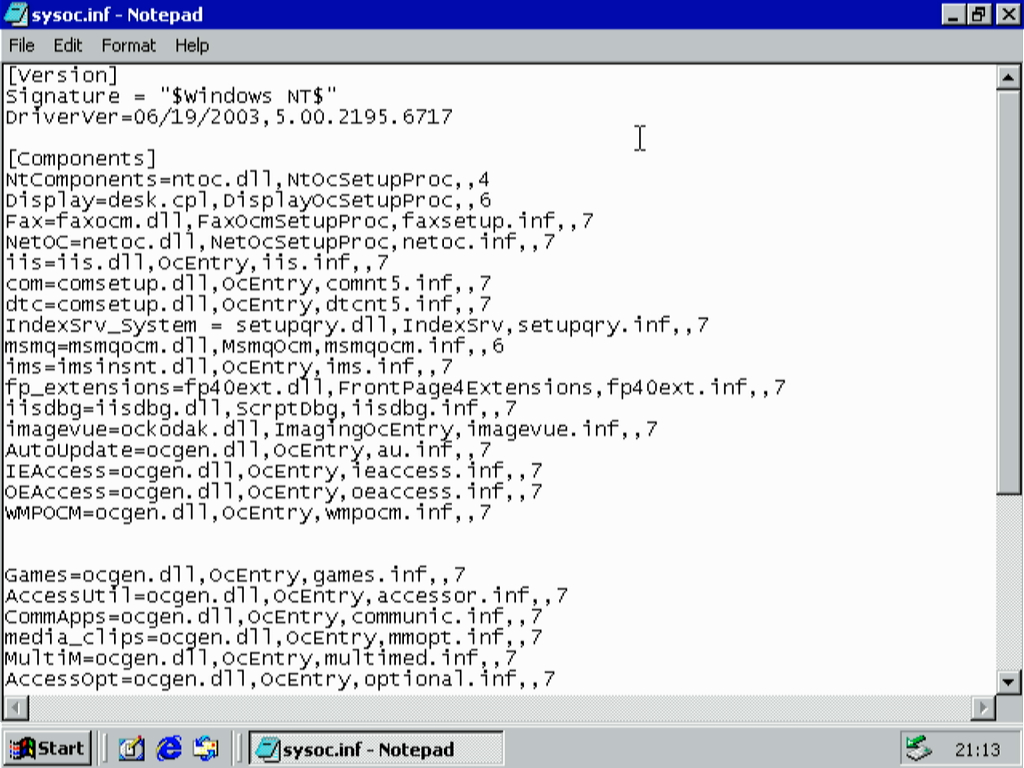
Now it's time to modify Windows components and remove some that we don't need. Press Win+R to invoke the Run menu, then type %WINDIR%\INF\sysoc.inf
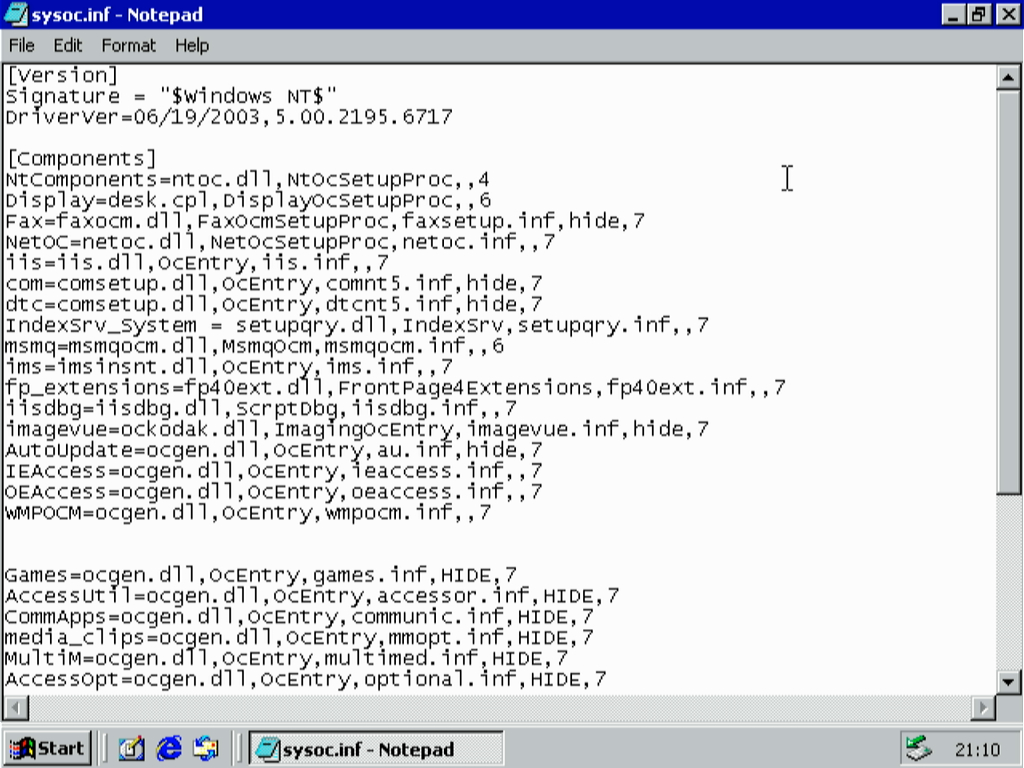
Press Ctrl+H to invoke the Replace menu, and on the "Find what:" field you will need to type ,hide, and on "Replace with" type ,, Then click "Replace All" and the sysoc.inf file should now look like this:
Save it and go to the Control Panel, then go to Add/Remove Programs. Then click on Add/Remove Windows Components. The components you will be removing vary if your life depends on them. Again, each configuration may be different.
Now the fun part: Services. Let's disable some services that we don't need:
We will need to tackle Port 445 and disable it through the registry. Press Win+R to invoke the Run menu again and type regedit. Then navigate to HKEY_LOCAL_MACHINE\SYSTEM\CurrentControlSet\Services\MRxSMB
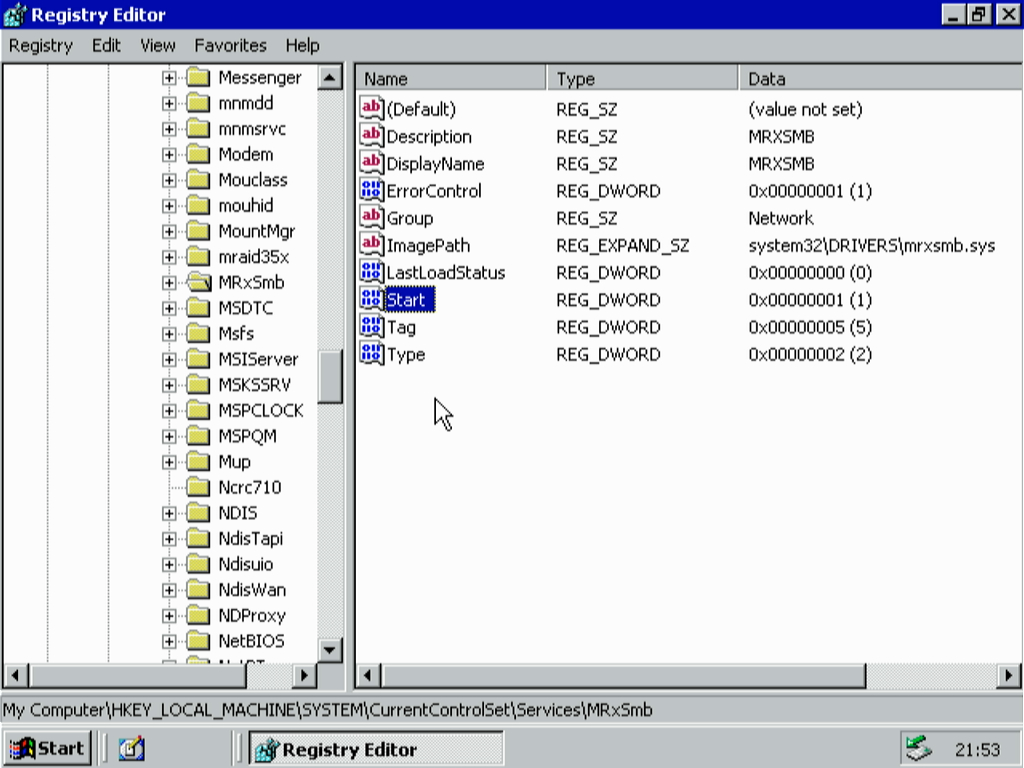
Set the DWORD hexadecimal value of Start from 0x00000001 (Boot) to 0x00000004 (Disabled). Then go to HKEY_LOCAL_MACHINE\SYSTEM\CurrentControlSet\Services\NetBT\Parameters
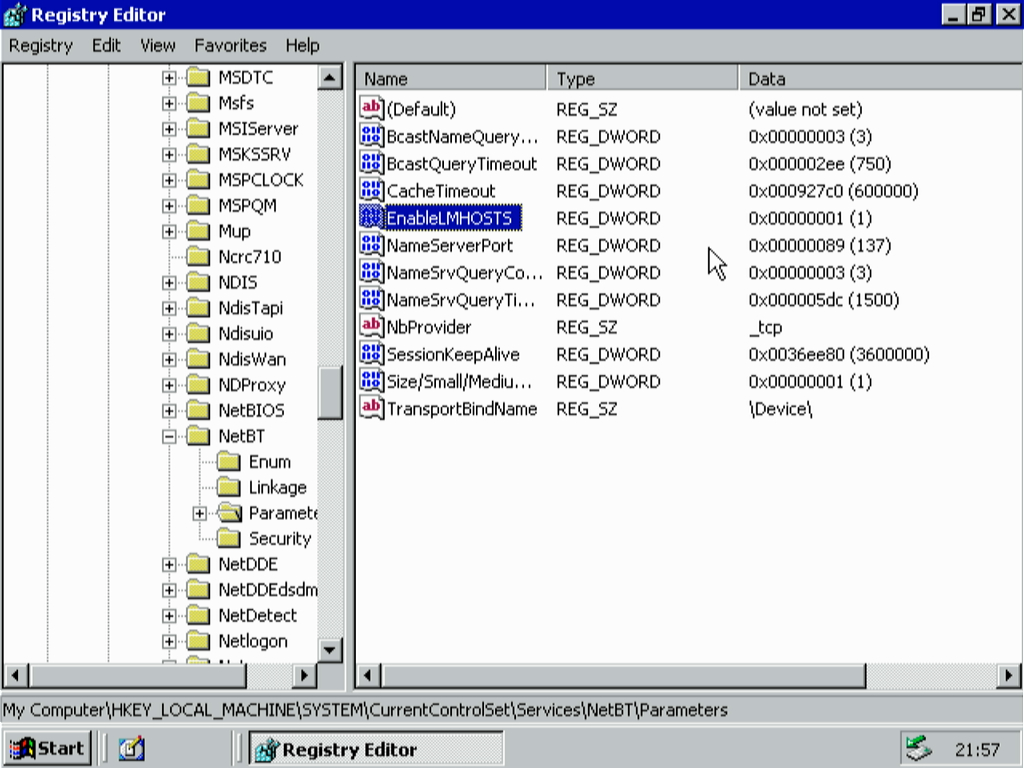
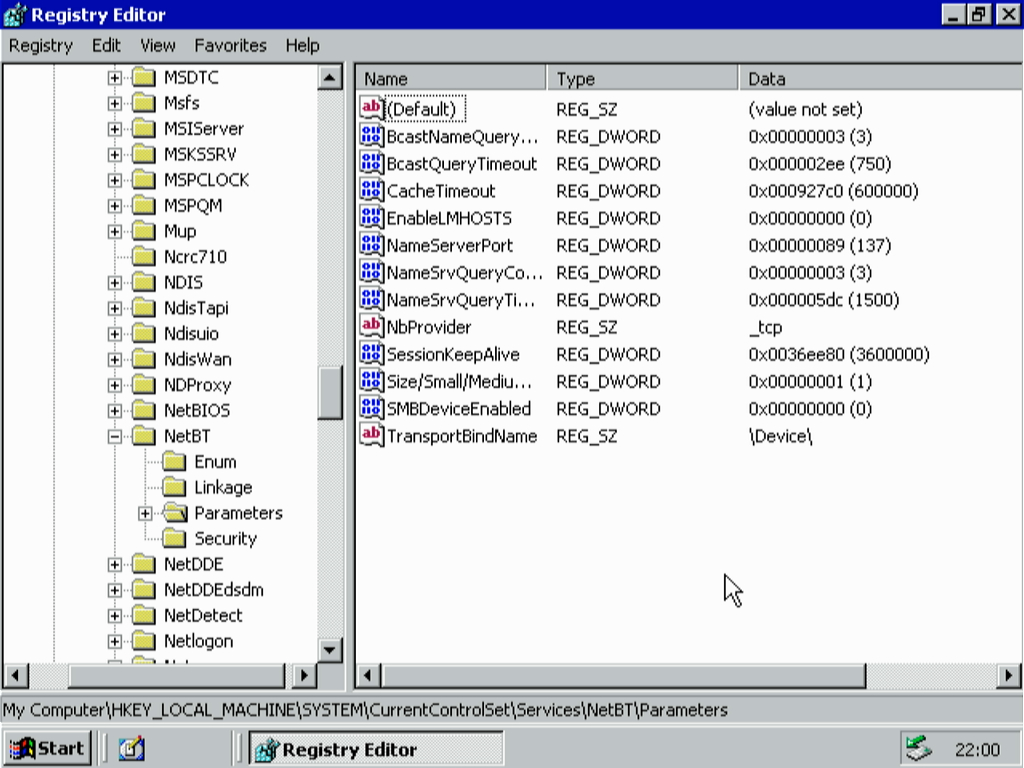
Set the DWORD hexadecimal value of EnableLMHOSTS from 0x00000001 (Enabled) to 0x00000000 (Disabled). Then create a new DWORD called SMBDeviceEnabled. Its DWORD should be 0x00000000
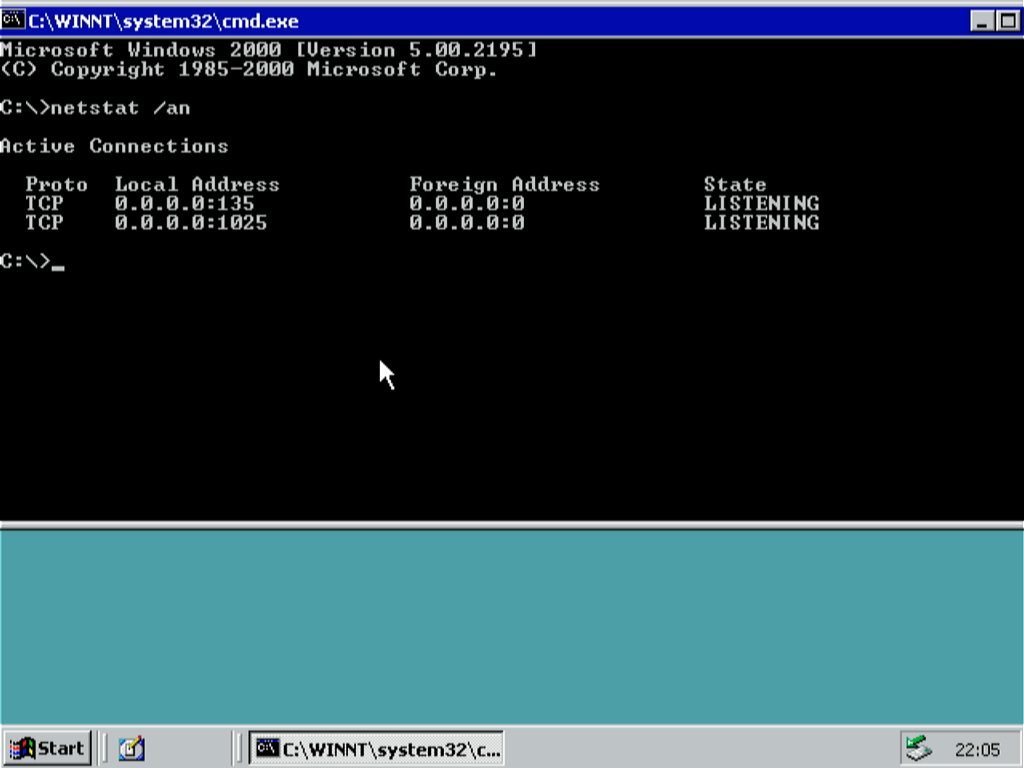
Restart the machine, run cmd.exe from the Run dialog, and type netstat /an. Port 445 should disappear as expected:
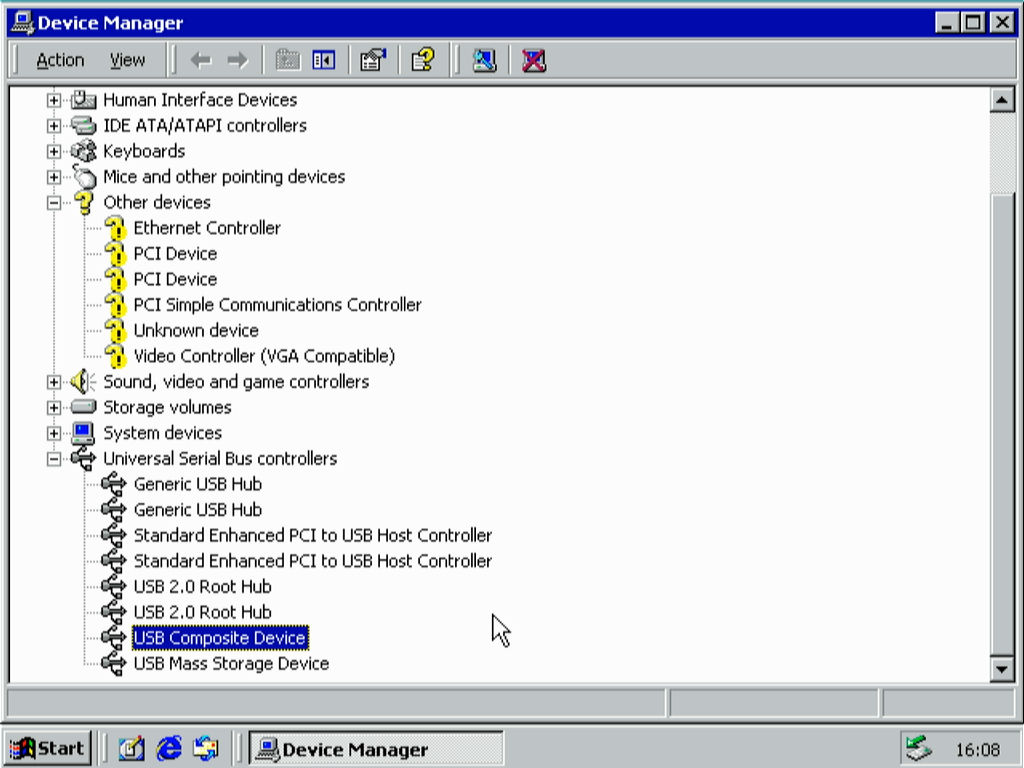
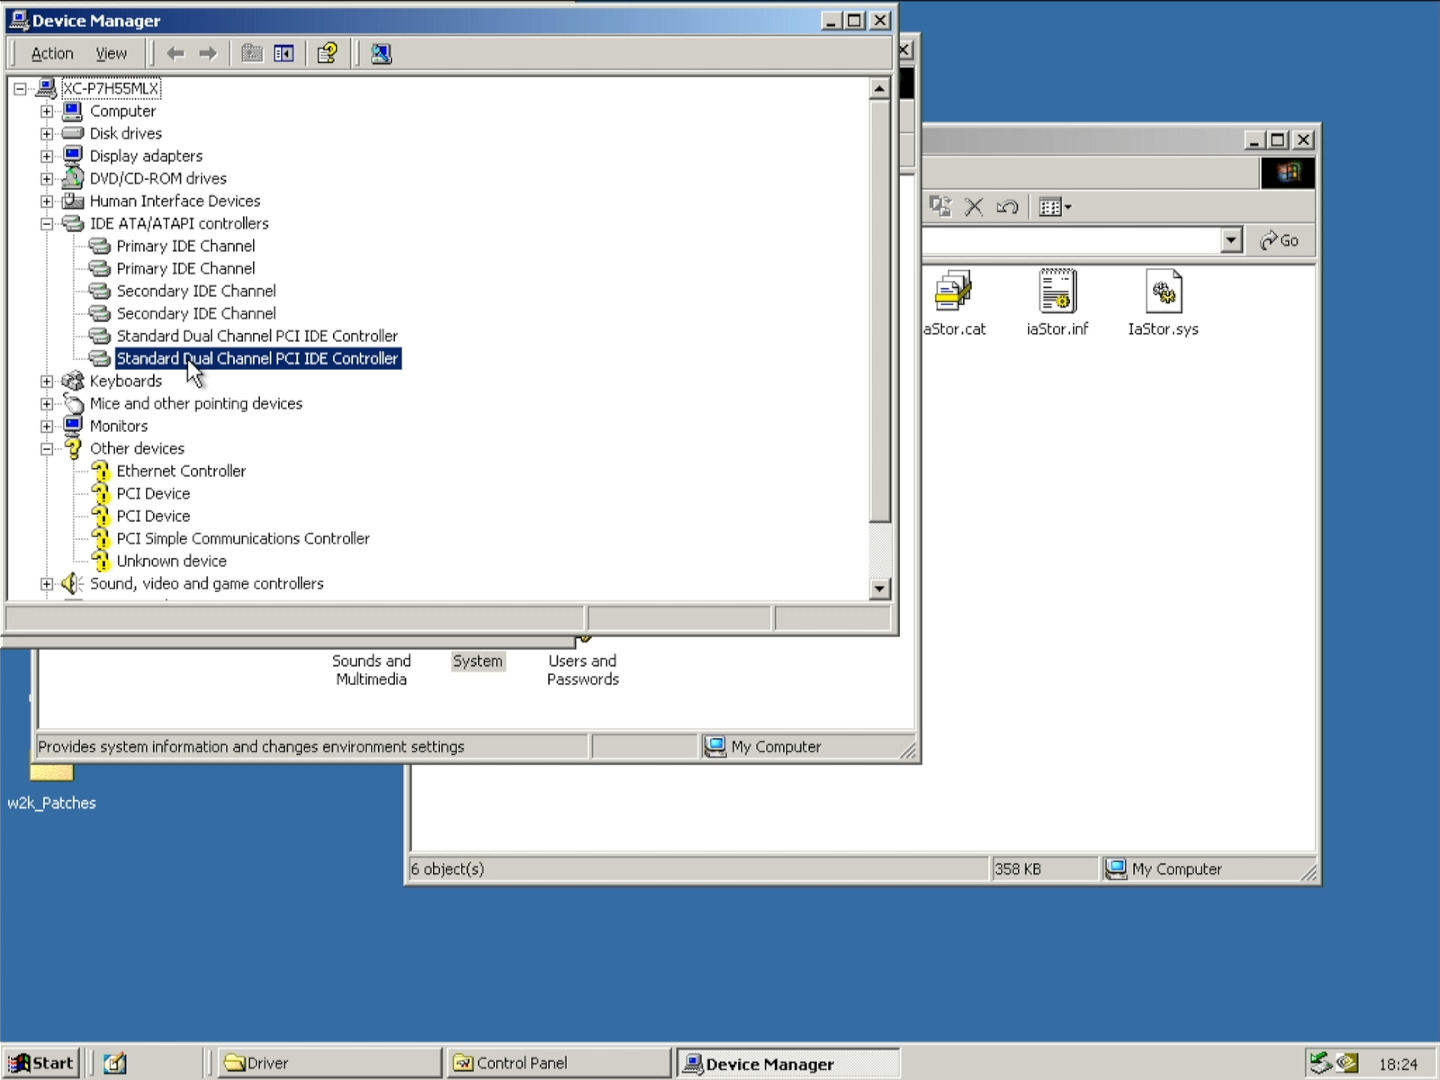
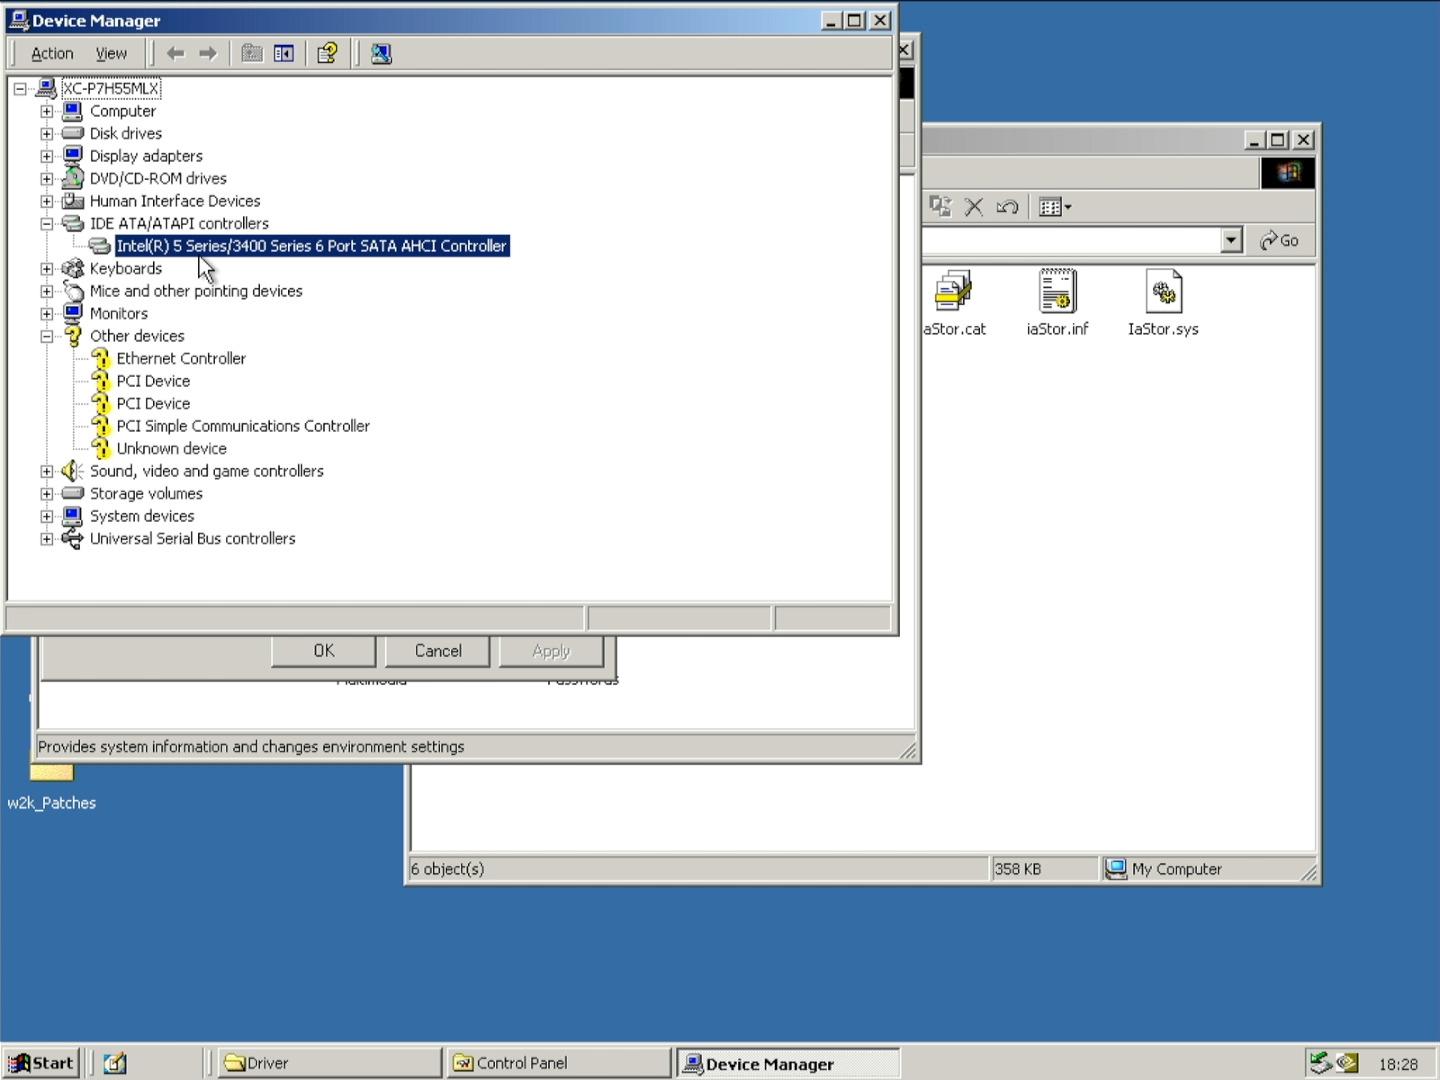
Normally I would just install the chipset, GPU, sound and Ethernet drivers in a respective order, but because the board we're using is quite new for Windows 2000 things need a change of pace. I first installed the drivers for my 7600 GT (ForceWare version 91.31) just to make things a little more easier. To enable AHCI support we will need to manually install version 7.6.0.1011 of the Intel Matrix/RST storage drivers (courtesy of Blackwingcat). First go to the Device Manager, expand the IDE ATA/ATAPI controllers category and select the second "Standard Dual Channel PCI IDE Controller":
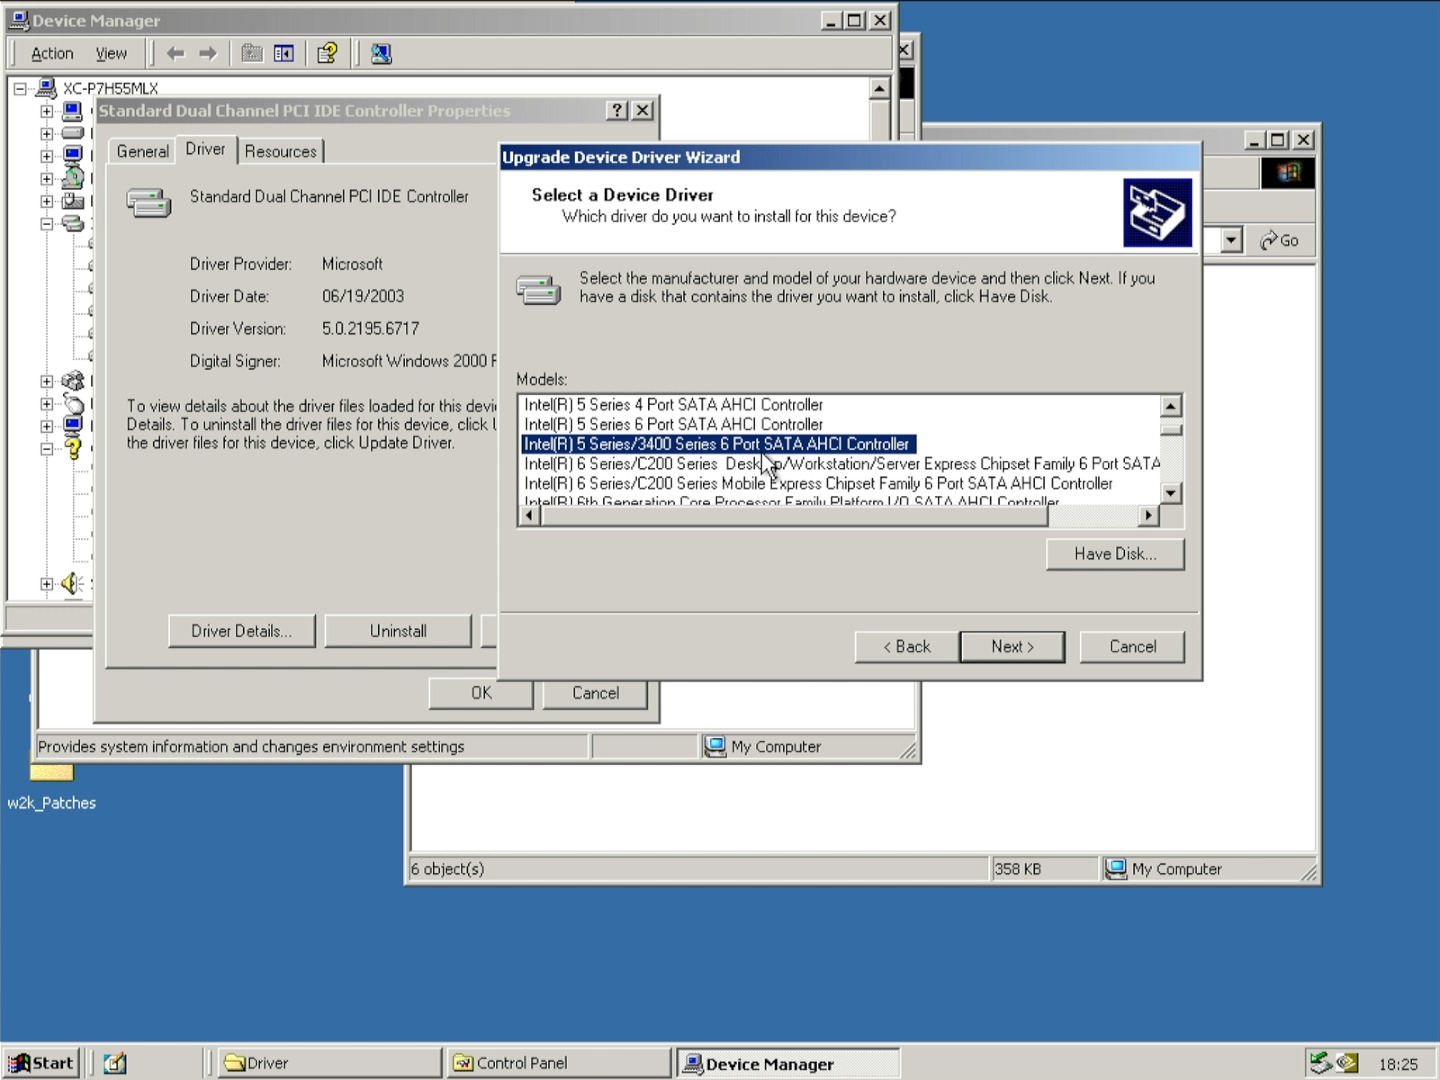
Right click on it and go to Properties. Then head to the Drivers section and click Update Drivers. Check "Display a list of the known drivers for this device so that I can choose a specific driver". Click on "Have Disk", and navigate to your AHCI drivers (specifically it should be iaAHCI.inf). Then pick a driver that is dependent on your chipset. Mine is an H55 chipset board with 6 SATA ports, so I'll be picking "Intel(R) 5 Series/3400 Series 6 Port SATA/AHCI Controller"
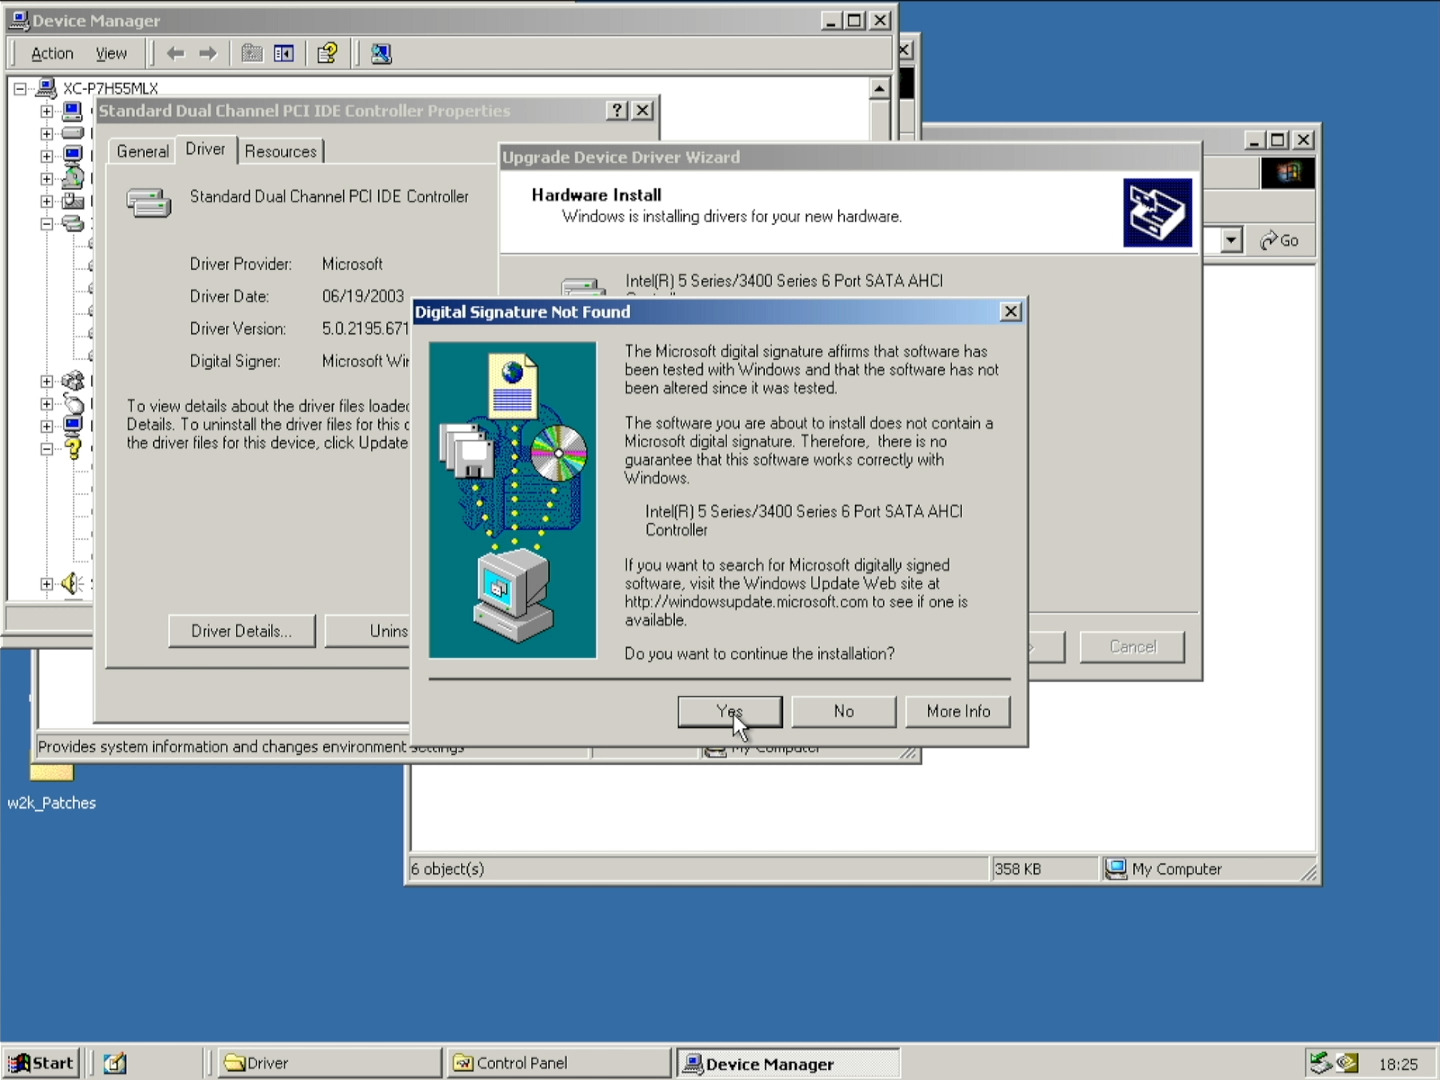
Then when you install the drivers it will warn you that the drivers may not be compatible with your hardware. Just click Yes and it will say that the drivers aren't digitally signed. Just click Yes on that too and continue the installation.
WARNING: Windows will blue-screen if you pick the wrong drivers. If this happens, restart and try to install the drivers again.
Once it finishes you will need to reboot the machine. Again, depending on your BIOS, press F12, DEL or ESC to access the BIOS setup menu. Change the SATA configuration to AHCI and save your changes.
Restart once more and you should see Windows 2000 booting successfully in AHCI mode. Depending on the HDD or SSD you're using you may notice a decrease in loading times. Go to the Device Manager, and expand the IDE ATA/ATAPI controllers category. Now you should only see the "Intel(R) 5 Series/3400 Series 6 Port SATA/AHCI Controller":
At this point you are pretty much on your own when it comes to installing other drivers (like ethernet, sound, etc). I do not know if this board even has drivers for Windows 2000 as they're made for XP in mind. It would be better to just use XP SP3 instead as this OS isn't really meant for daily use in this state; you can still play a bunch of old retro games on it as doing that still works, but you won't be able to use more modern browsers like Supermium or Mypal68.


© 2020-2025 RoozyDB/RoozerXC